
Hexing is the art of editing a file in Petz to get a whole new result! Hexing is how we have things other than the 30 P.F. Magic and Studio Mythos breedz, and the massive assortment of clothes and toyz we have.
Some people hex in Notepad or a hexadecimal editor, but these are the main programs that people in the Petz community use for hexing:
♧ — The rest of this guide will be written with breedfiles and petfiles in mind, as I unfortunately am not experienced enough to hex toys or clothes! I may make a part 2 someday if I ever get enough experience. — ♧
(Gods, I'm going to be so embarrassed if it turns out I use these completely different from everyone else. If it ain't broke, don't fix it…)
Programs Used: Pet Workshop (for visuals), LNZ Pro (for tweaking that PW can't quite do)
I'm not going to go super crazy on the breedfile this time, since this is the basics and all. Today, I'm turning an ordinary Oshie into a disco ball, since I think it will demonstrate the process well.
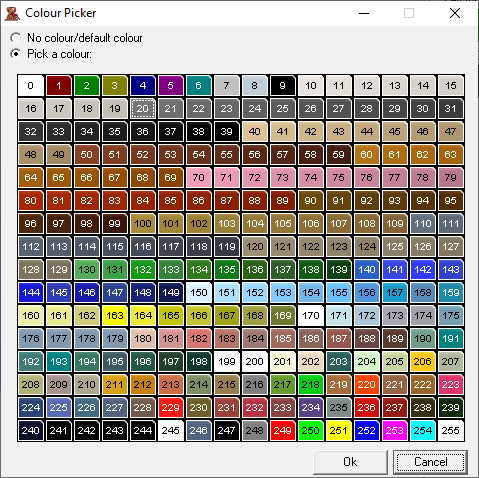
The colour range from 224 to 243 may look fun and vibrant, but these colours never display right in Petz, and aren't even consistent between users sometimes! For example, for me, purple-234 is actually black, and black-243 is actually sky blue. Which unfortunately means that, without the Purple Mod, we don't get any "purples" beside purple-5 and grey-209.
The Orange Shorthair has no variations to speak of, but if there were any, I'd go to this option here. This "Collapse All Variations" removes the preexisting variations of the pet, so that you don't have to repeat the same thing!

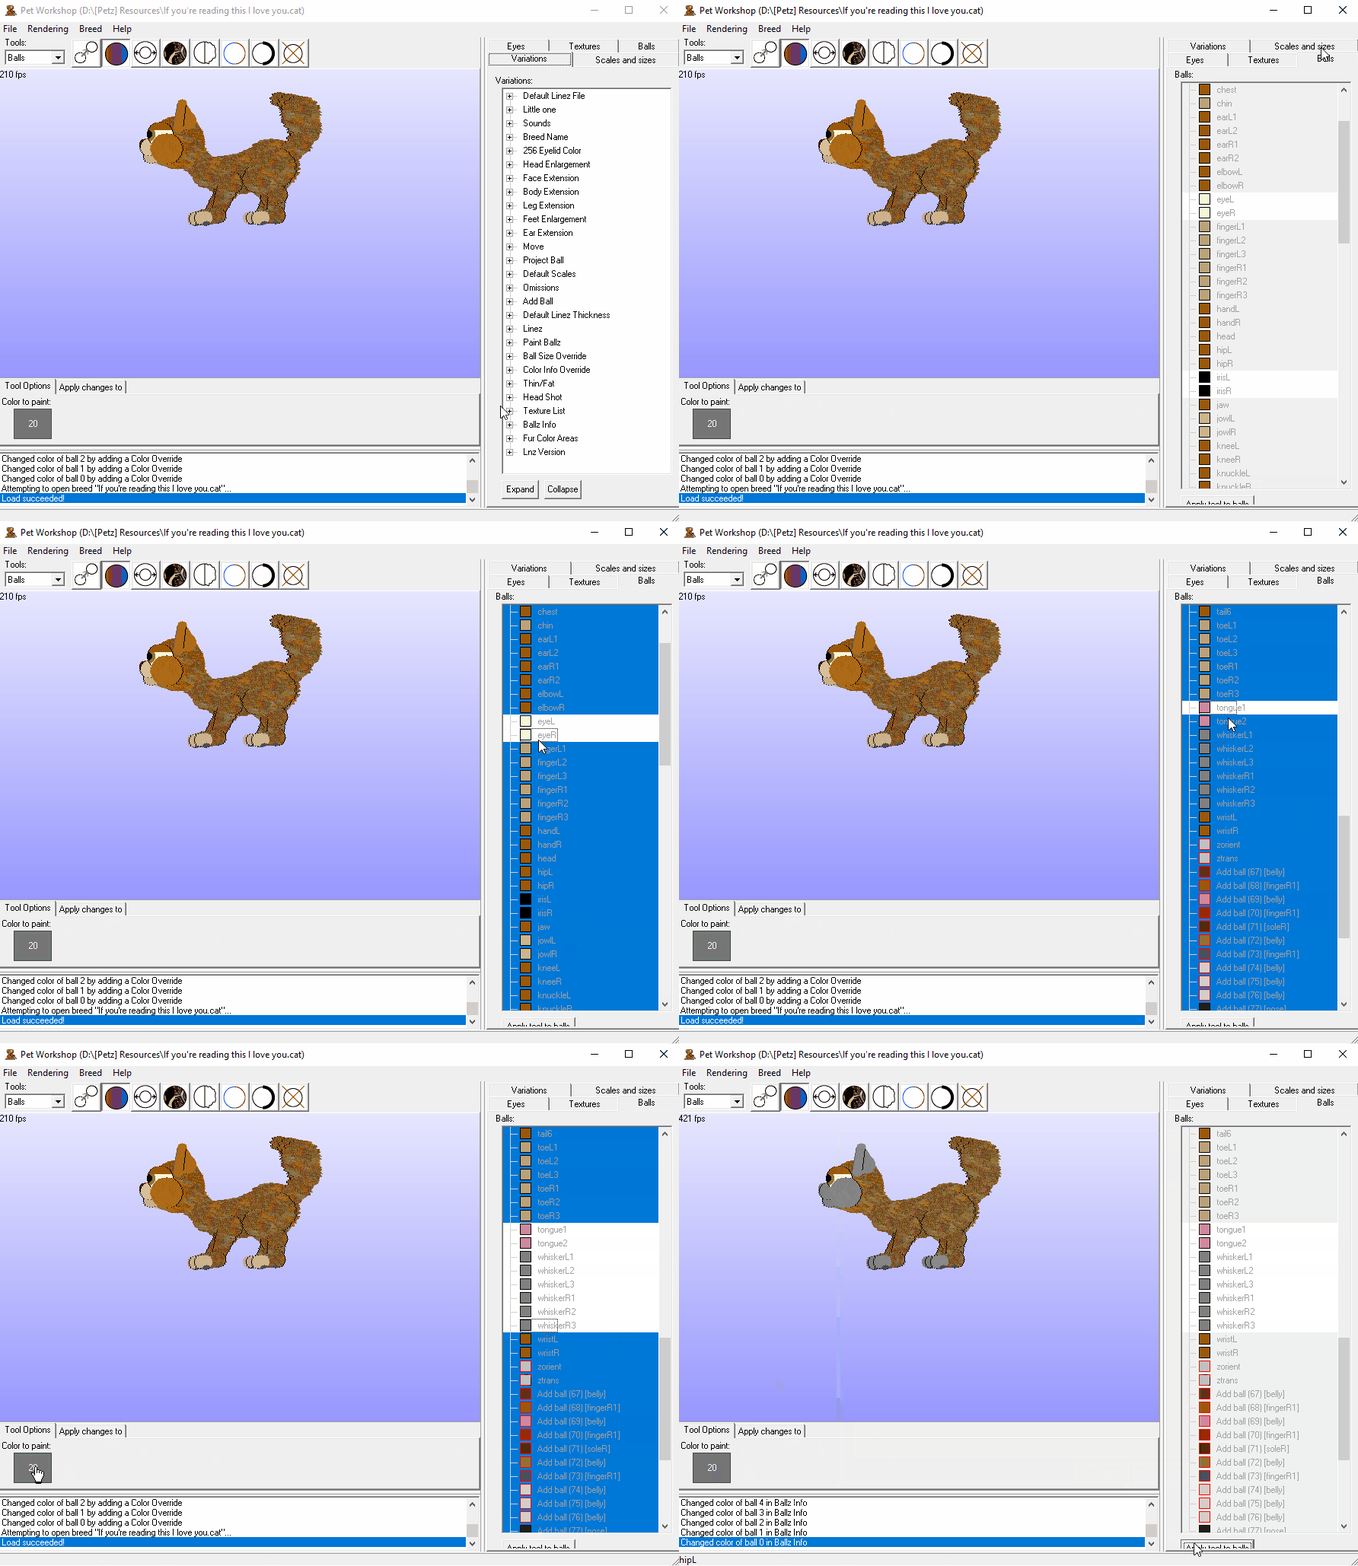
I want the basic disco ball body to be grey. First, I set the recolouring tool to "Base info" to prevent any issues with variations later, then I go into the Balls tab to edit all the colours. I select all of the balls, deselect the eyes, tongue, and whiskers, and then press the Colour tab at the top and select grey-20. Finally, I press the "Apply Tool To Balls" button at the very bottom of the tab.
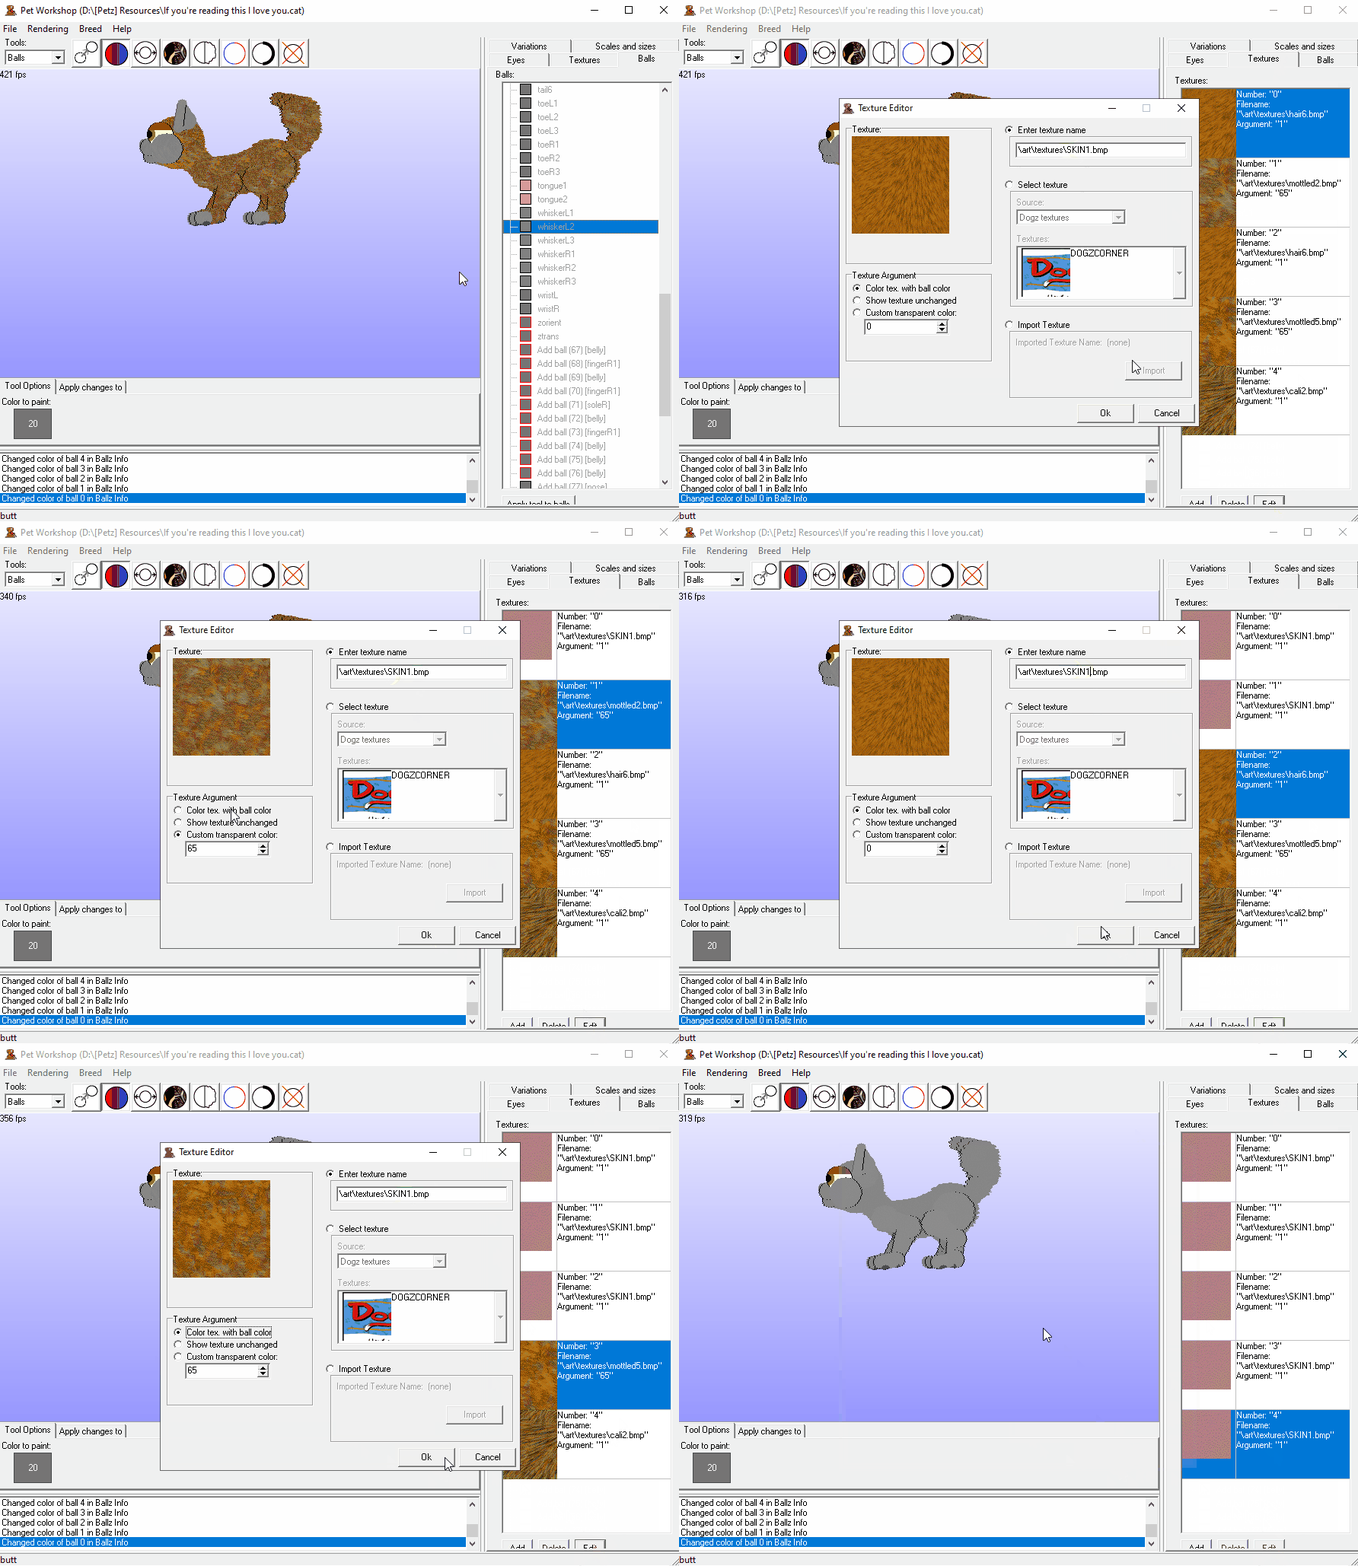
As you can see, there is a lot of orange hair texture covering up the grey! I don’t want my disco ball to be hairy, so I’m editing the textures via the Textures tab. I set the skin texture to be transparent in a way that it blends in with the fur instead of covering it!
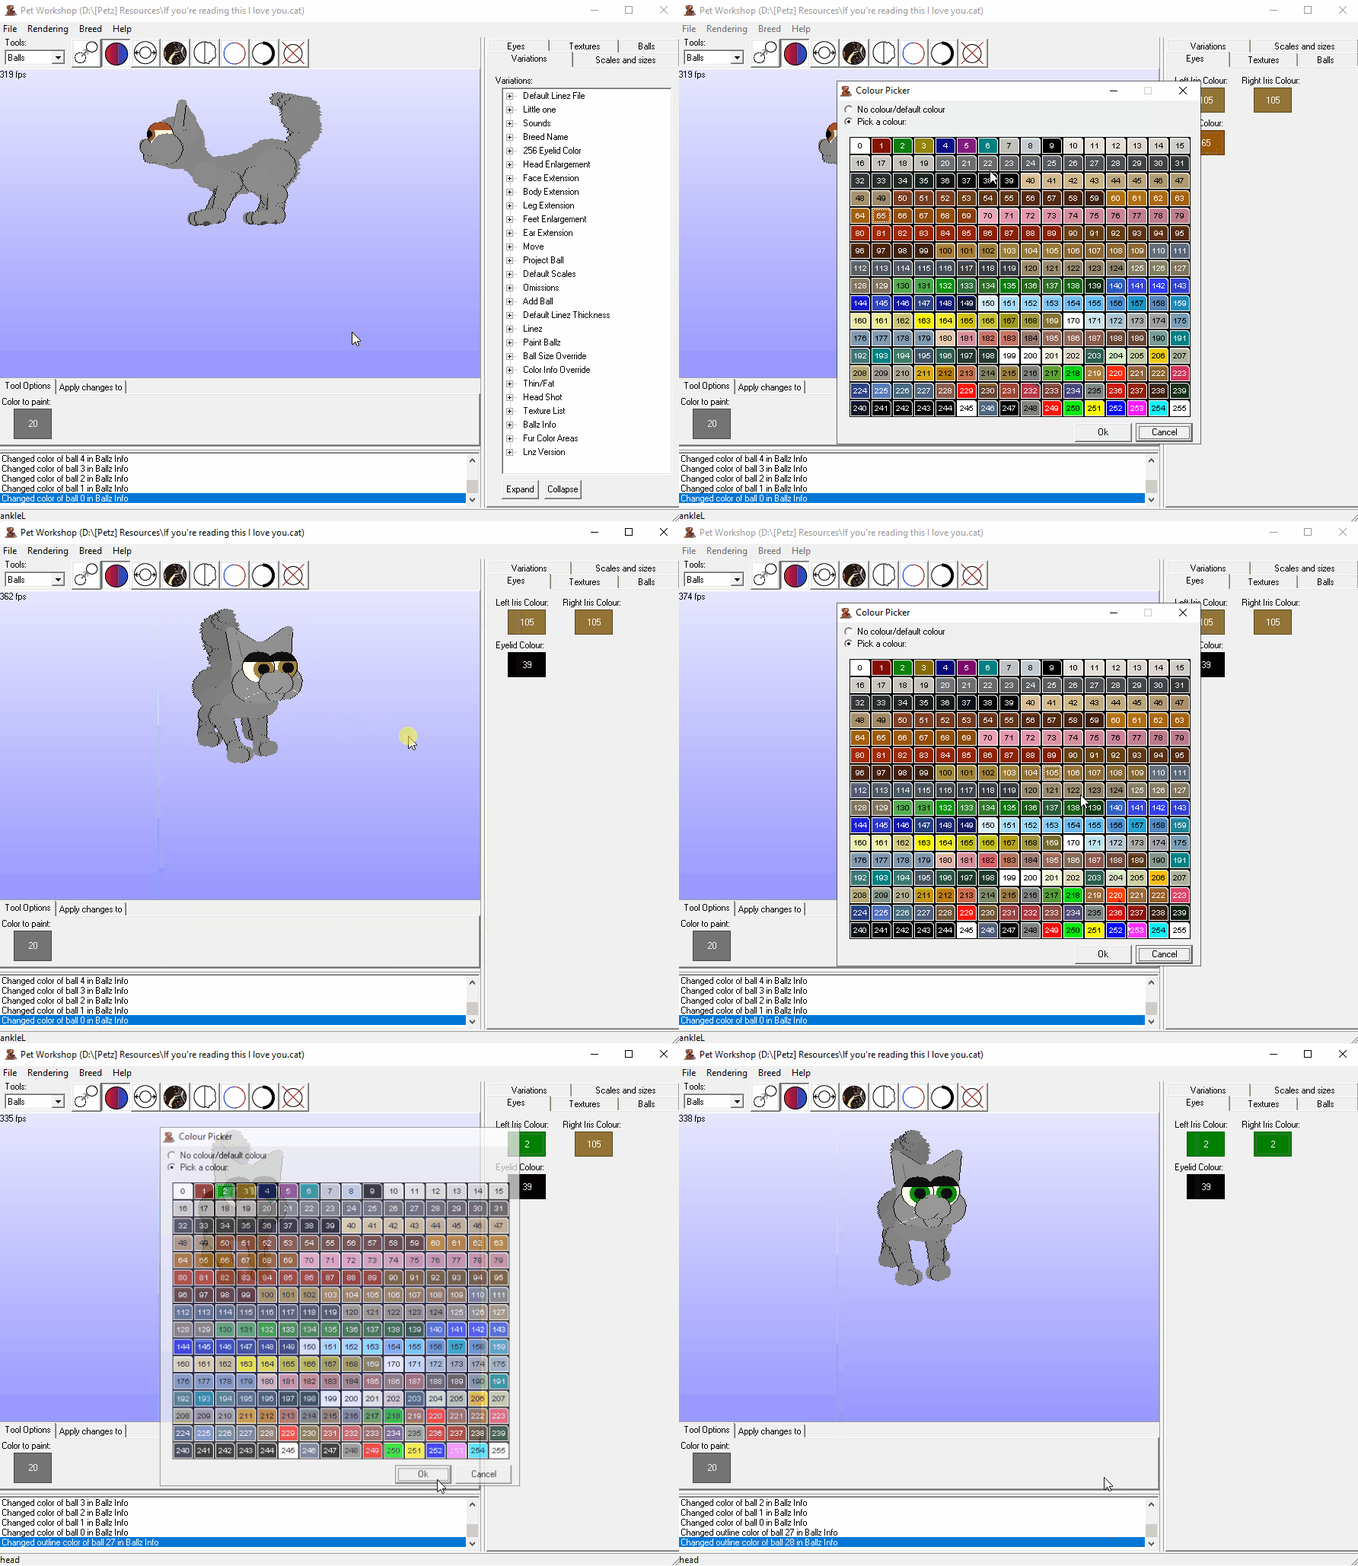
Next, I’ll recolour the eyes and eyelids. These can all be recoloured through the Eyes tab. It’s just like picking a colour in the recolouring tool.
Finally, we’re going to add paintballz, or spots! I go into the Paintballs tool, choose a ball and a colour, and then add a bunch of spots.
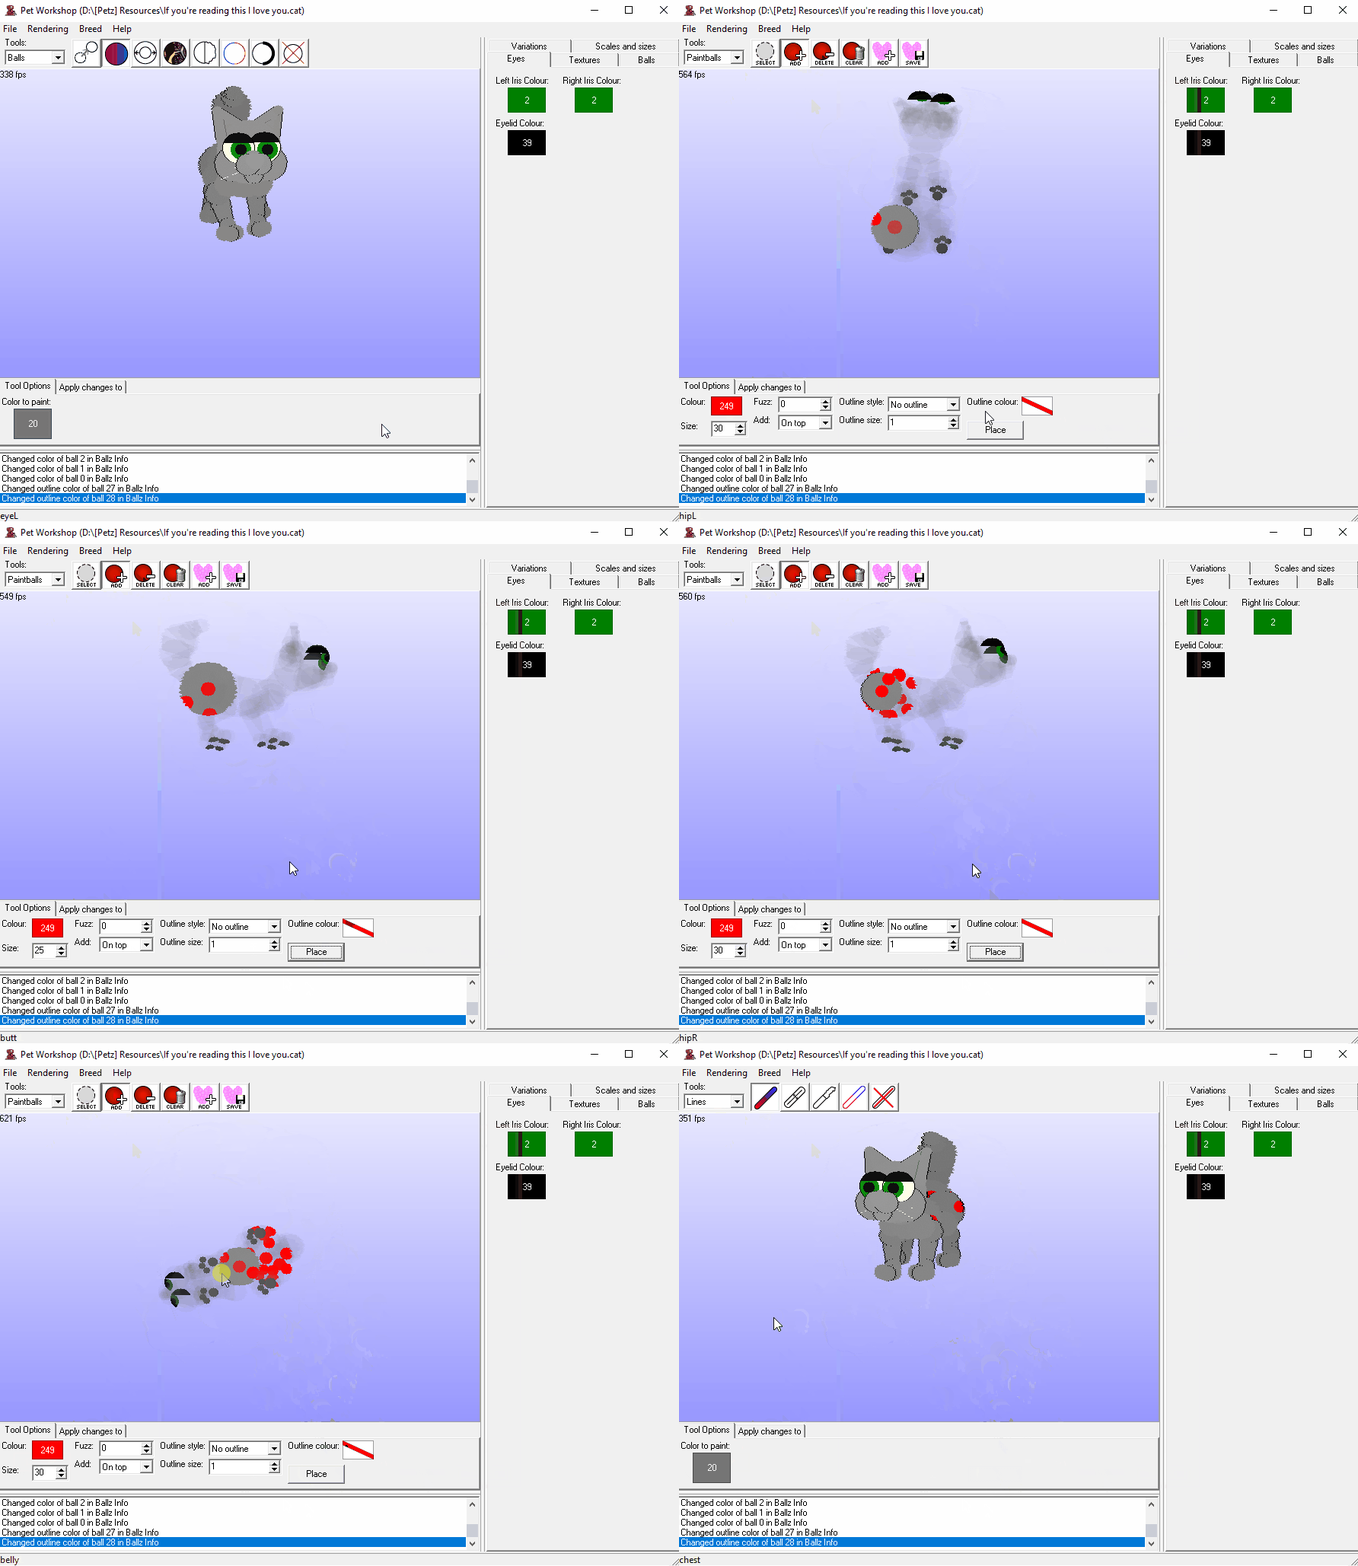
I want another possible configuration for the disco ball spots, so I’m going to make a new variation! Our previous pattern becomes the “default” variation, and our new one becomes a separate one.
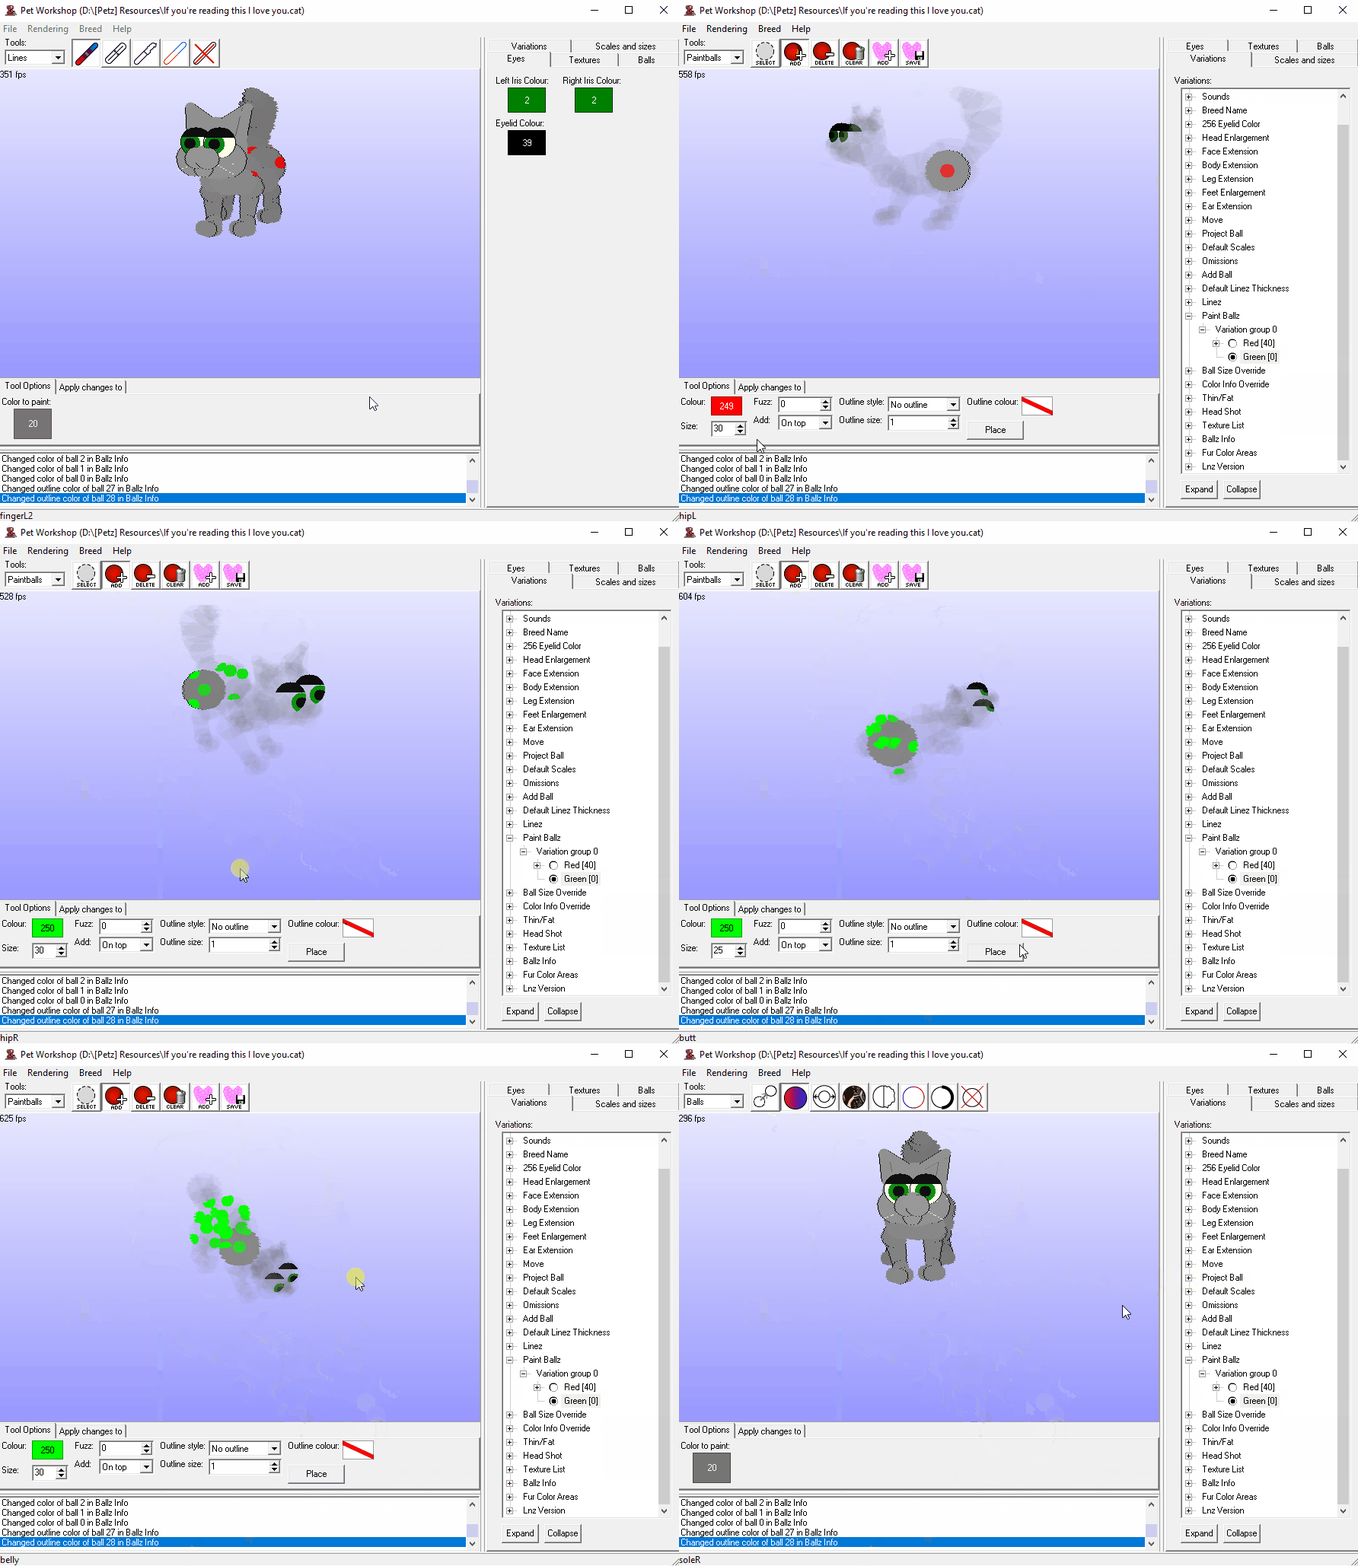
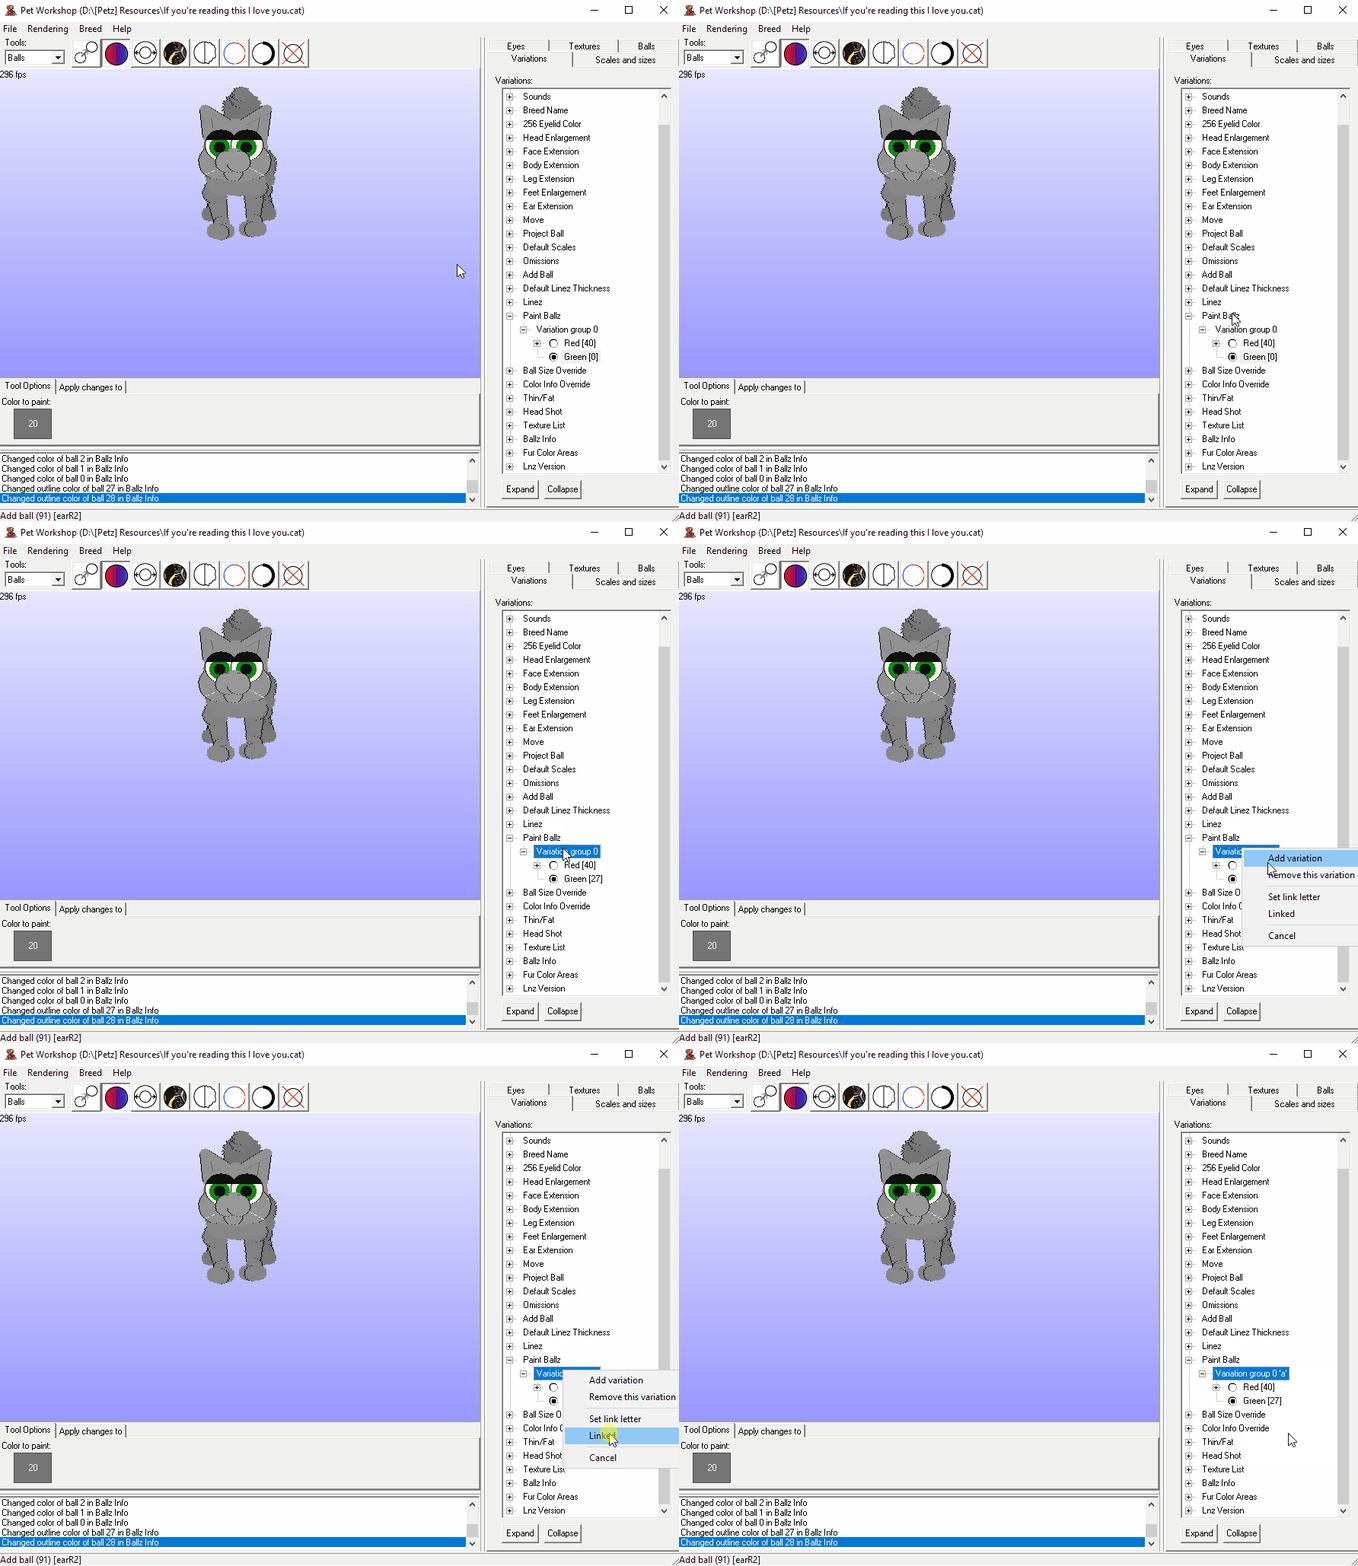
If you want specific colours to be linked to specific other colours (e.g. you want only red-furred petz to have green eyes, and only dusty petz to have blue ones), link your variations together! This can be done in the Variations tab, once you have at least two.
Usually, I use LNZ Pro for things like scaling, addballz, and editing the LNZ itself to account for the new breed, default pet name, offset number, and Adoption Centre image. I’ll cover each of those things here!
It comes with a built-in help system that’ll tell you what each section of the LNZ does if you press F1, and that’s usually enough for me. If I don’t specify enough, you can always use that feature!
Scaling: Head down to the [Default Scales] section for the whole pet, or one of the individual [_ Extension] sections (Legs, Tail, Body, etc.) Adjust the number to reflect the size you want!
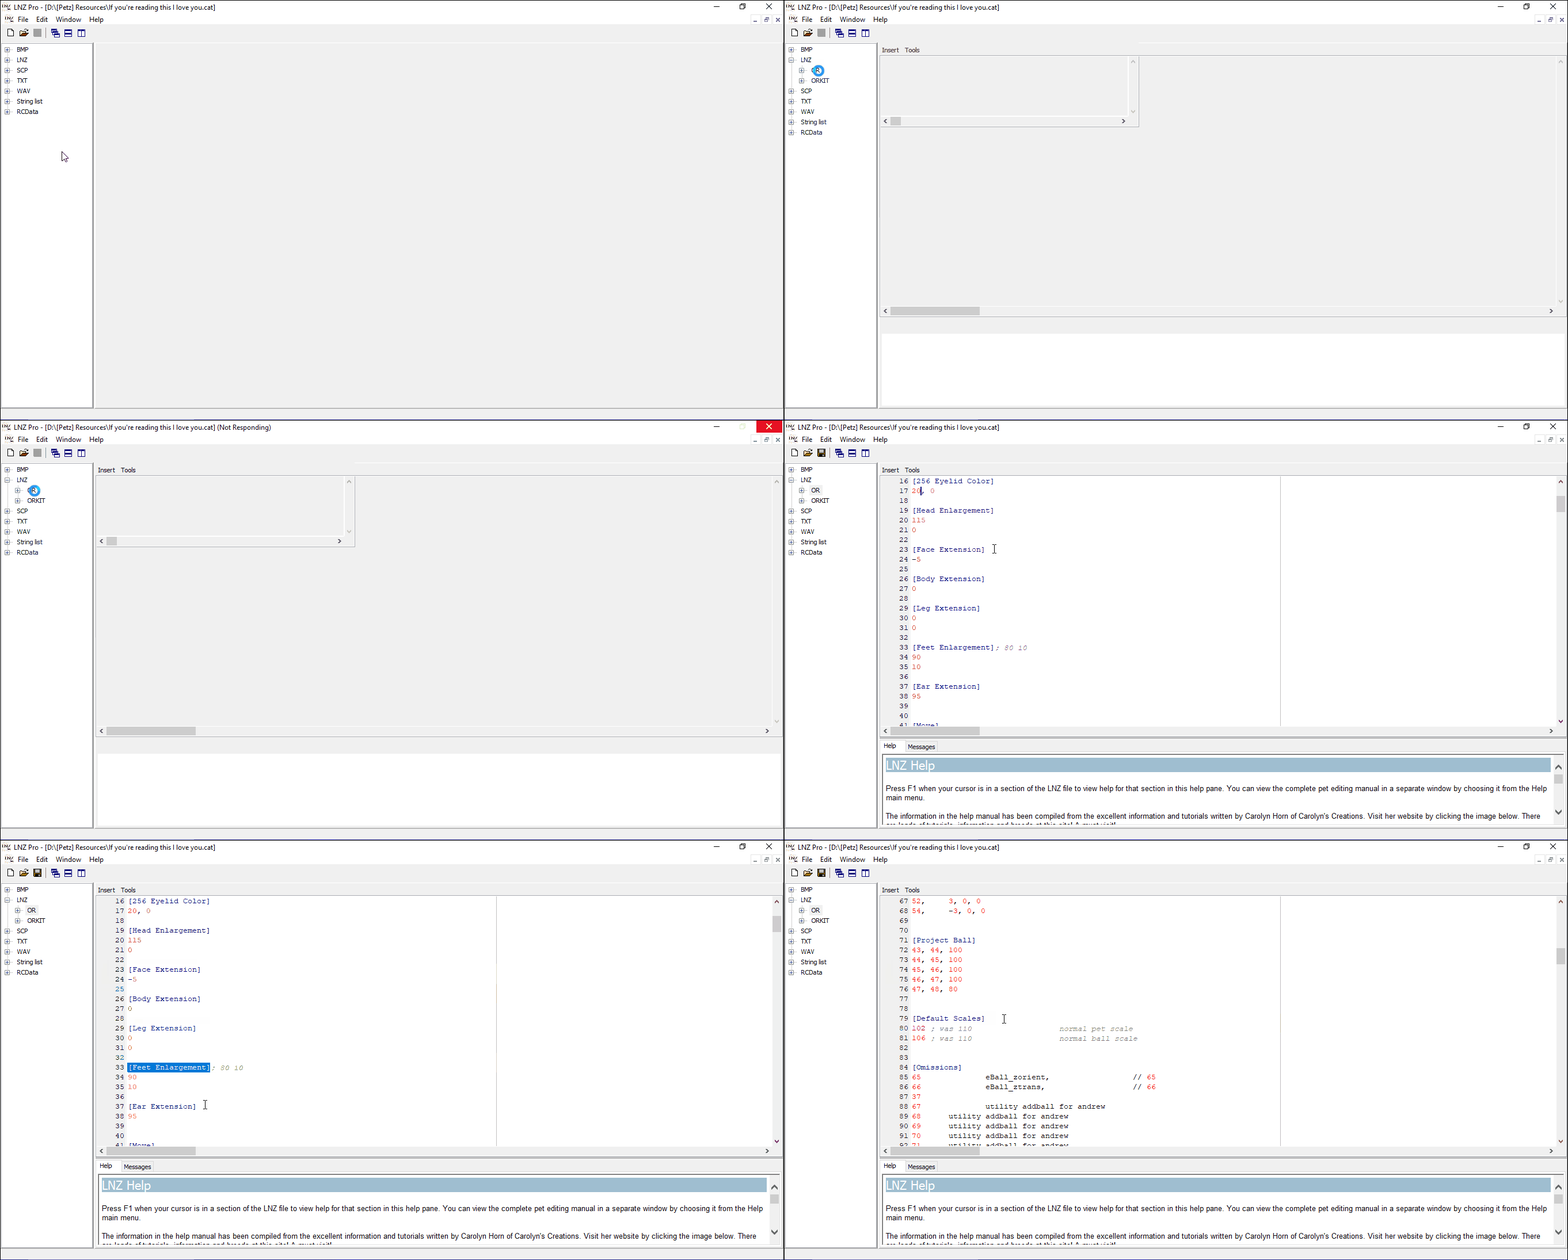
Addballz: Simply add a line in the [Add Ballz] section, filling in the information as needed.
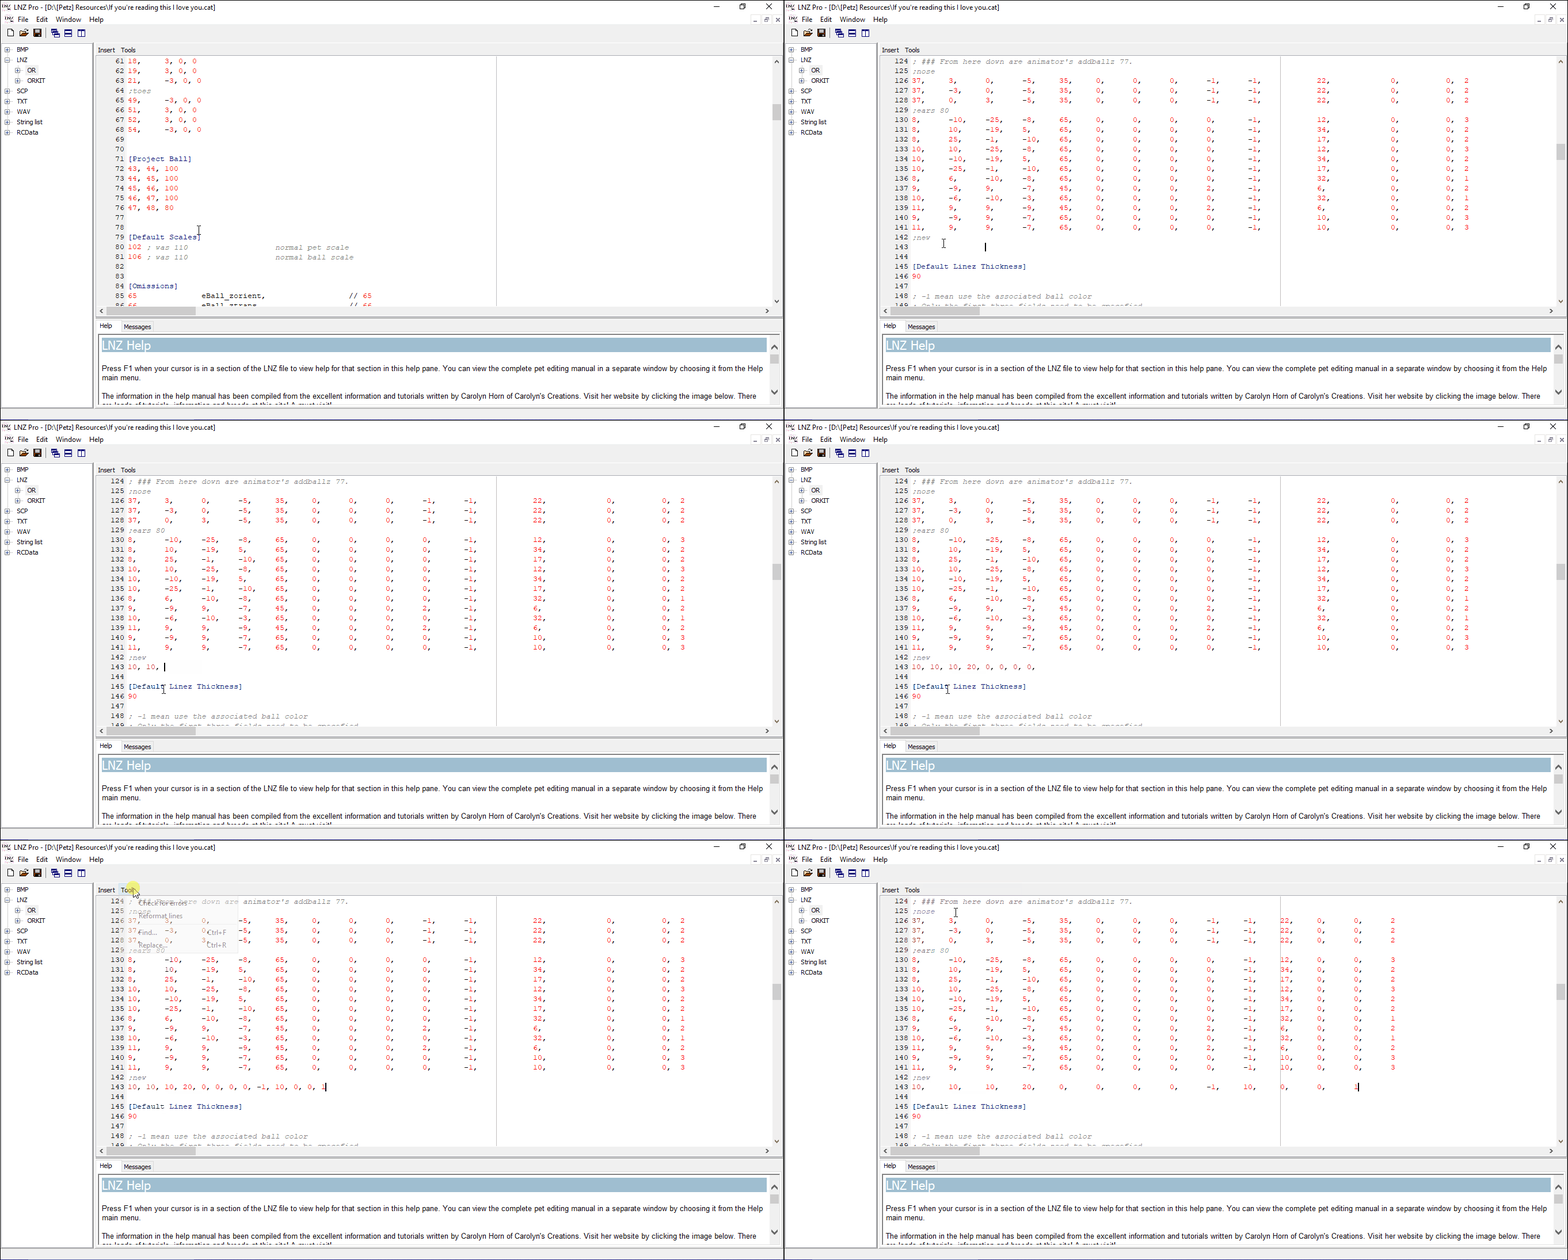
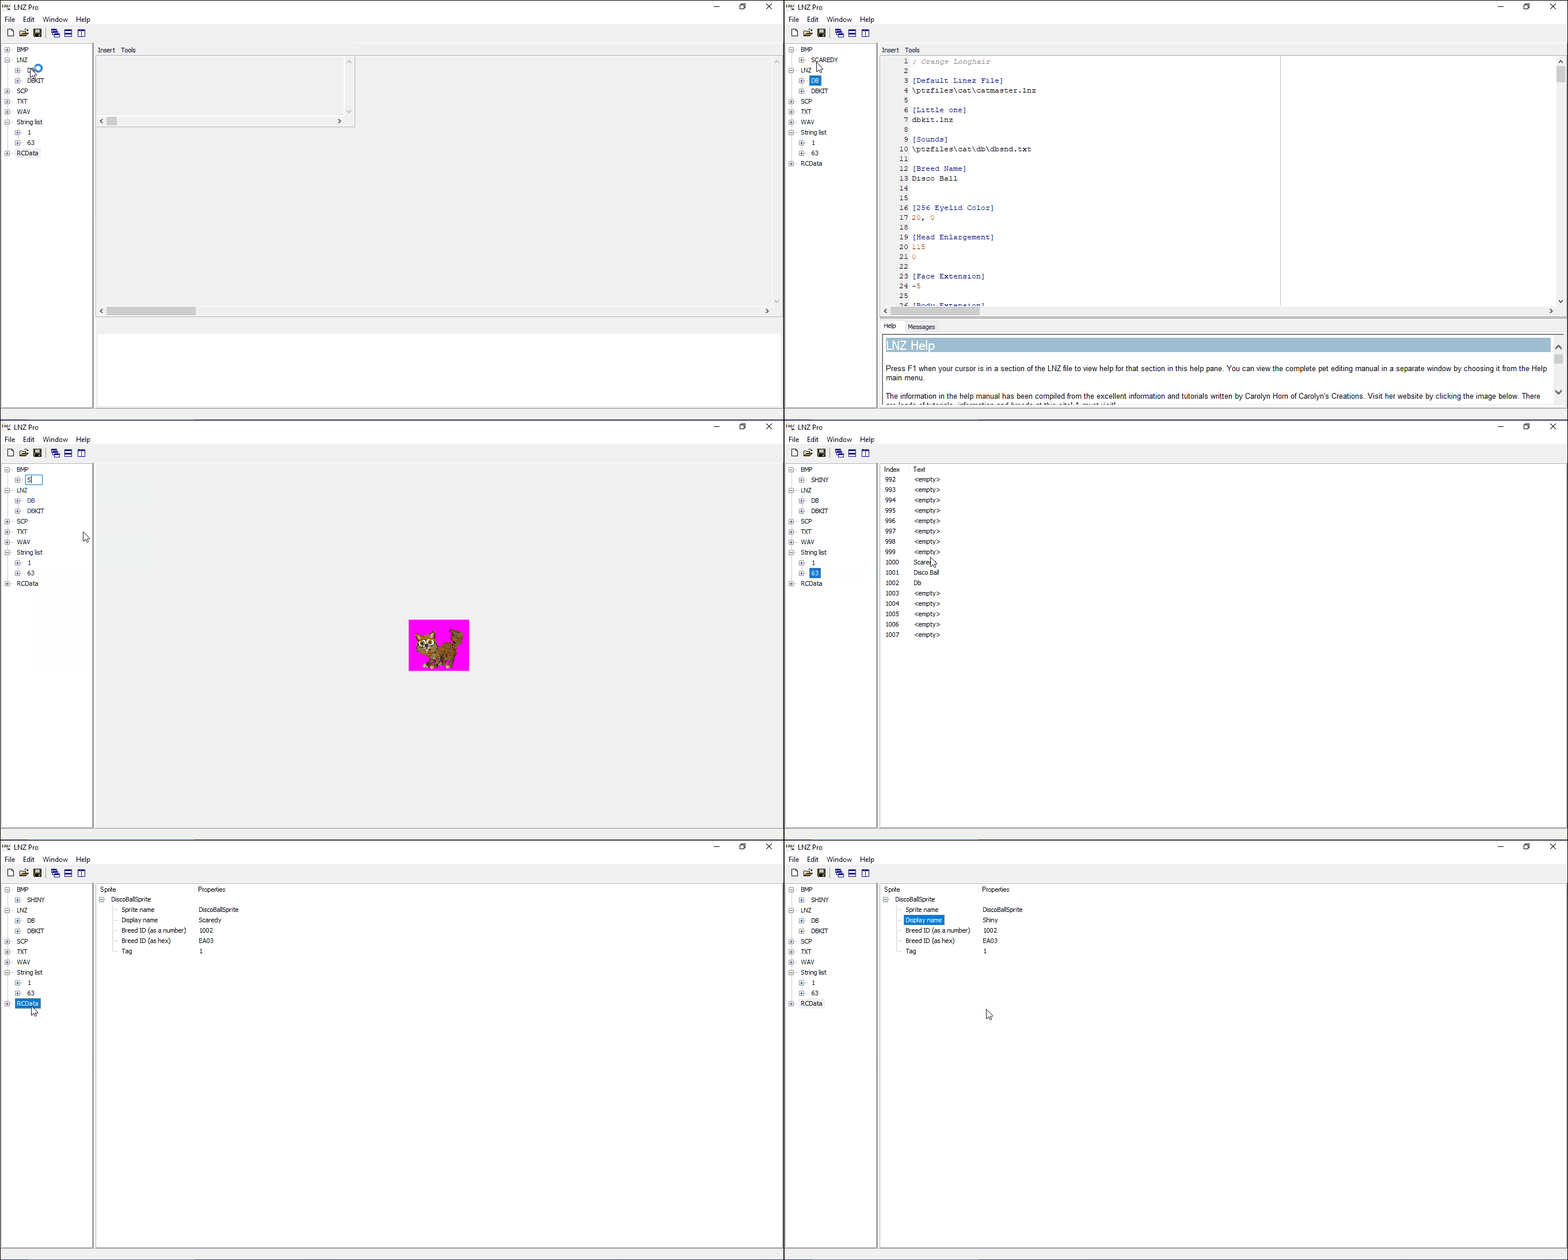
New Breed Name and Initials: You will need to edit the adult and baby LNZ, the String List, and the RCData for this.
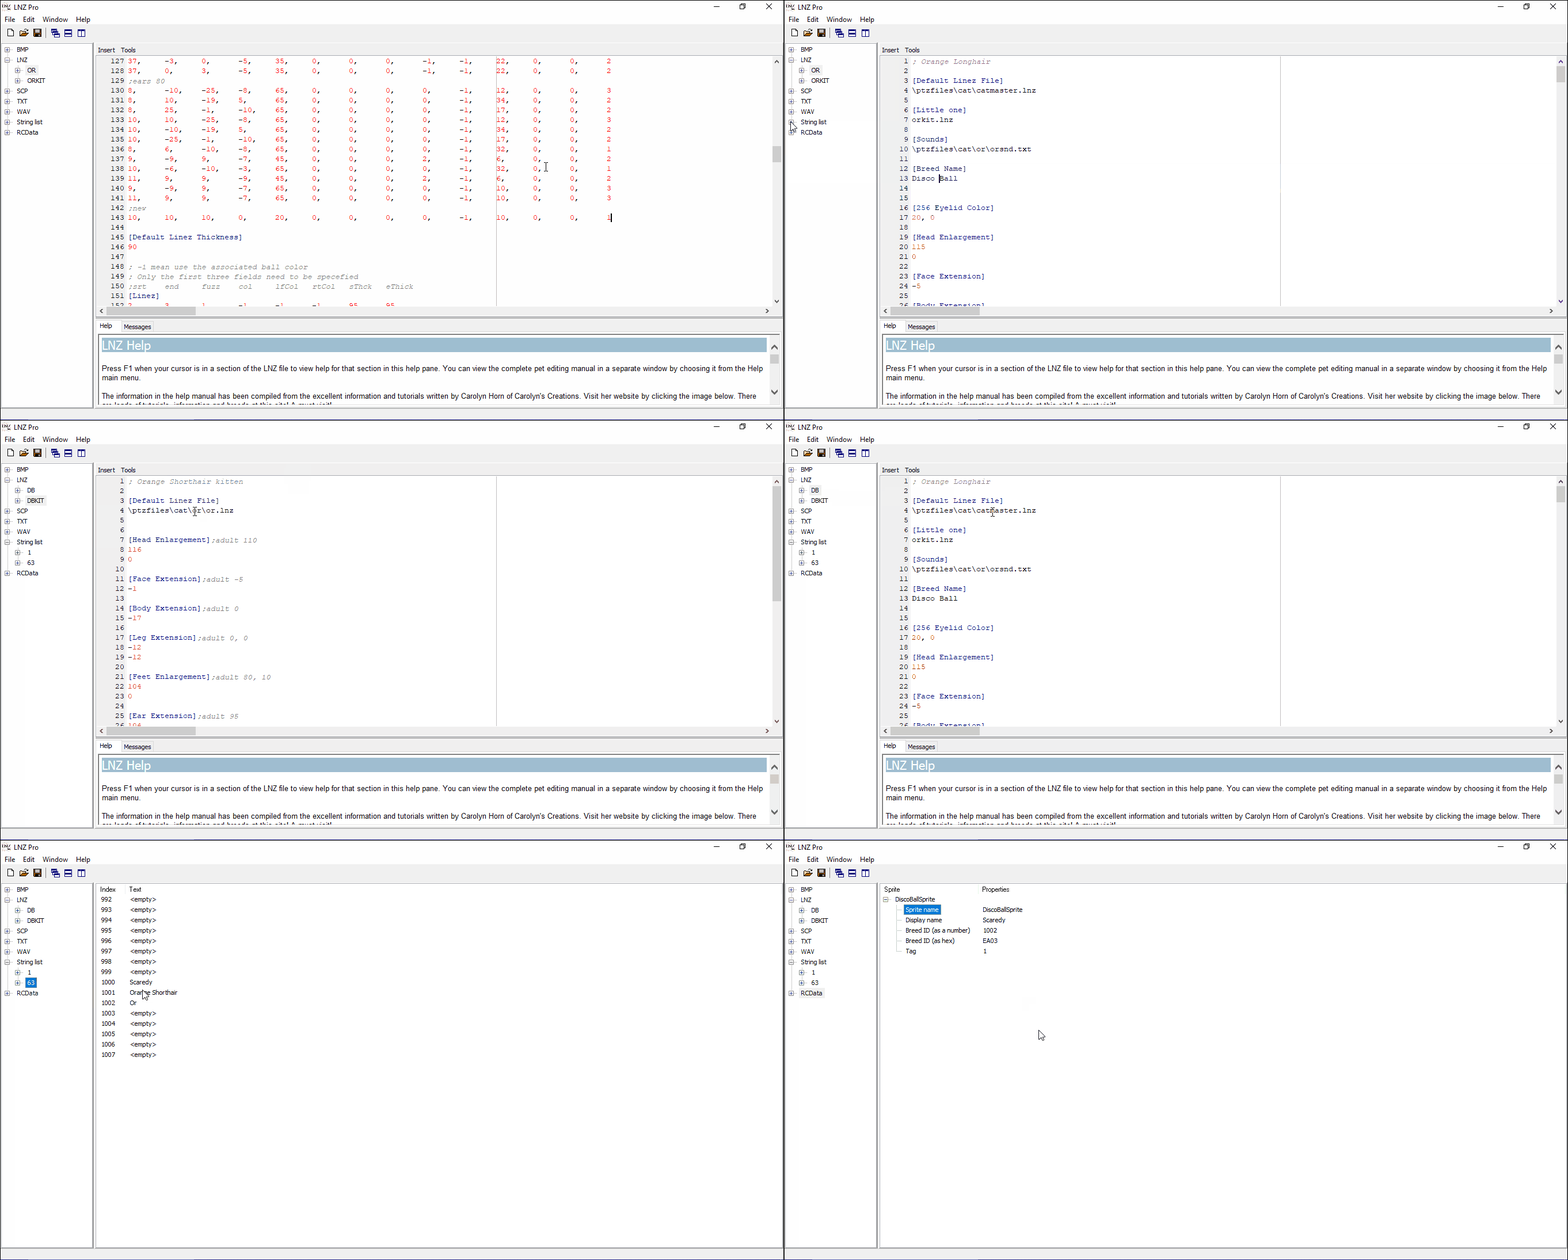
New Default Pet Name: You will need to edit the Adoption Centre image filename, String List, and RCData for this.
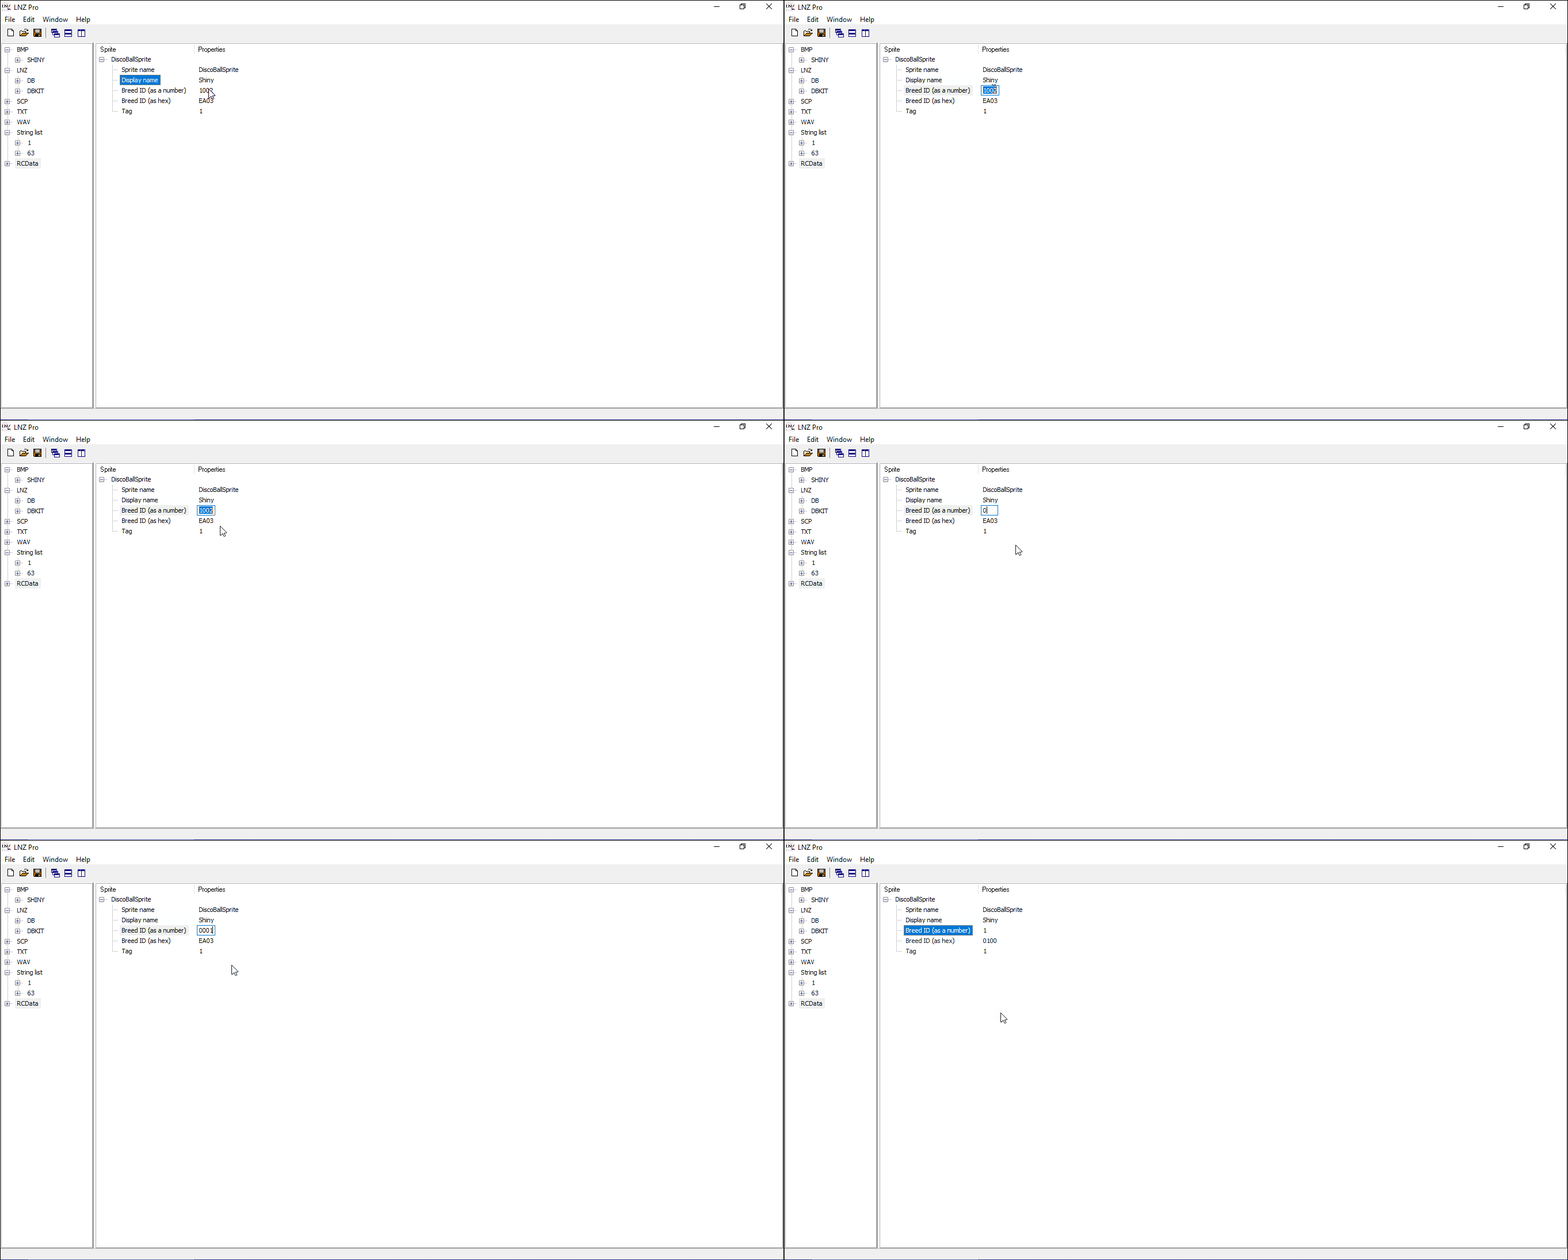
Offset: You will need to edit the RCData for this. You can also do this in Pet Workshop by “saving as”, but I usually do it in LNZ Pro first.
Programs Used: LnzLive (for visuals), LNZ Pro (source of the LNZ)
LnzLive has very simple but thorough documentation that explains how to use it as well, but I wanted to give a hands-on tutorial as well, since it took me some getting used to.
As such, let’s design a BirdWorm themed after my (old) site colours!

To edit a pet file, you need a pet! I grabbed this teal BirdWorm, Everclear!, from the AC before we started. (I asked for my roomie’s help naming her. Roomie suggested the name of a crappy alcohol. I suggested the mandatory exclamation mark.)

First, I pop open Everclear!’s .pet file in LNZ Pro, and select everything, then cutting and pasting it into LnzLive’s LNZ editor.
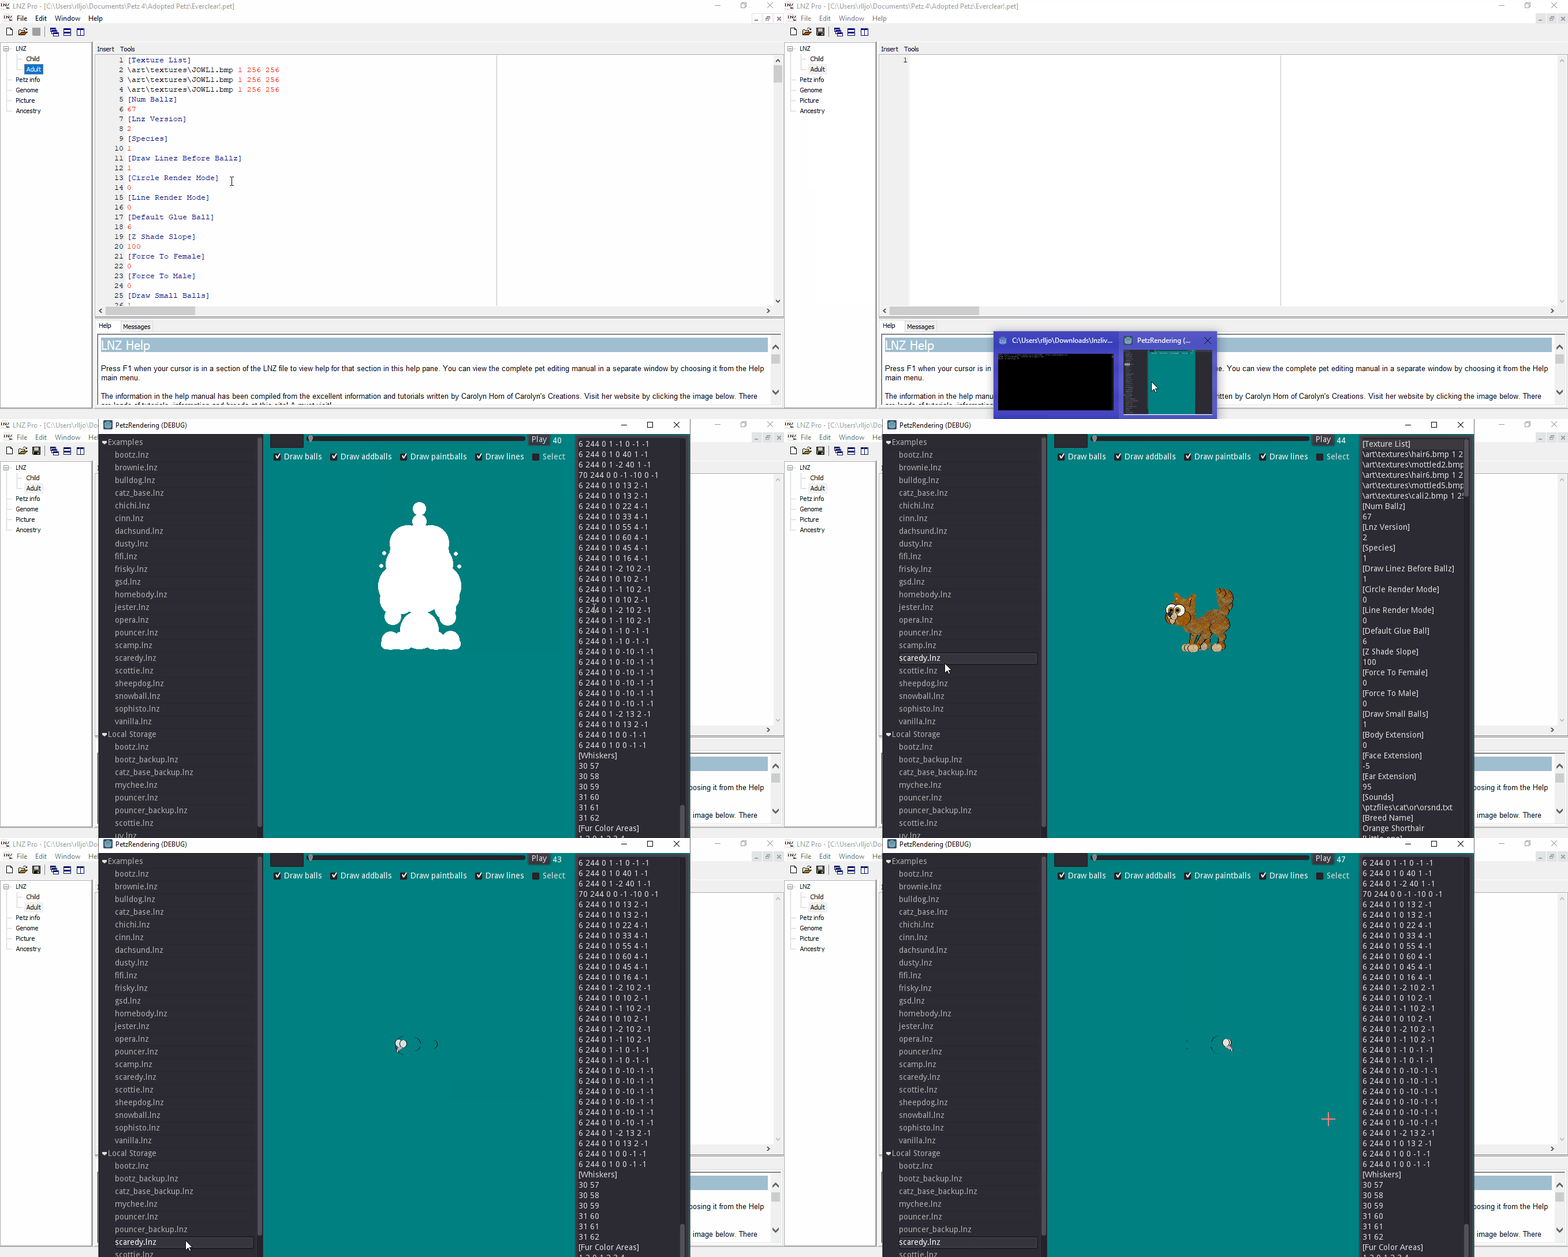
Then, I save it, so that we can see what the pet looks like. Everything looks fine here!
When in LnzLive, you can check the Select box at the top and then choose the ball you want to change the colour of. Pressing Ctrl+B will take you directly to that ball’s [Ballz Info] line, making it easy to identify which one it is! This is especially a lifesaver for addballz, as that value can change depending on the base breed.
Here, I’ve chosen the three segments of the BirdWorm and changed them to match as closely to the teal, blue, and purple of my site colours as possible. I also changed the eye colour and beak colour to match my old WordPress site’s theme, BSoJ!
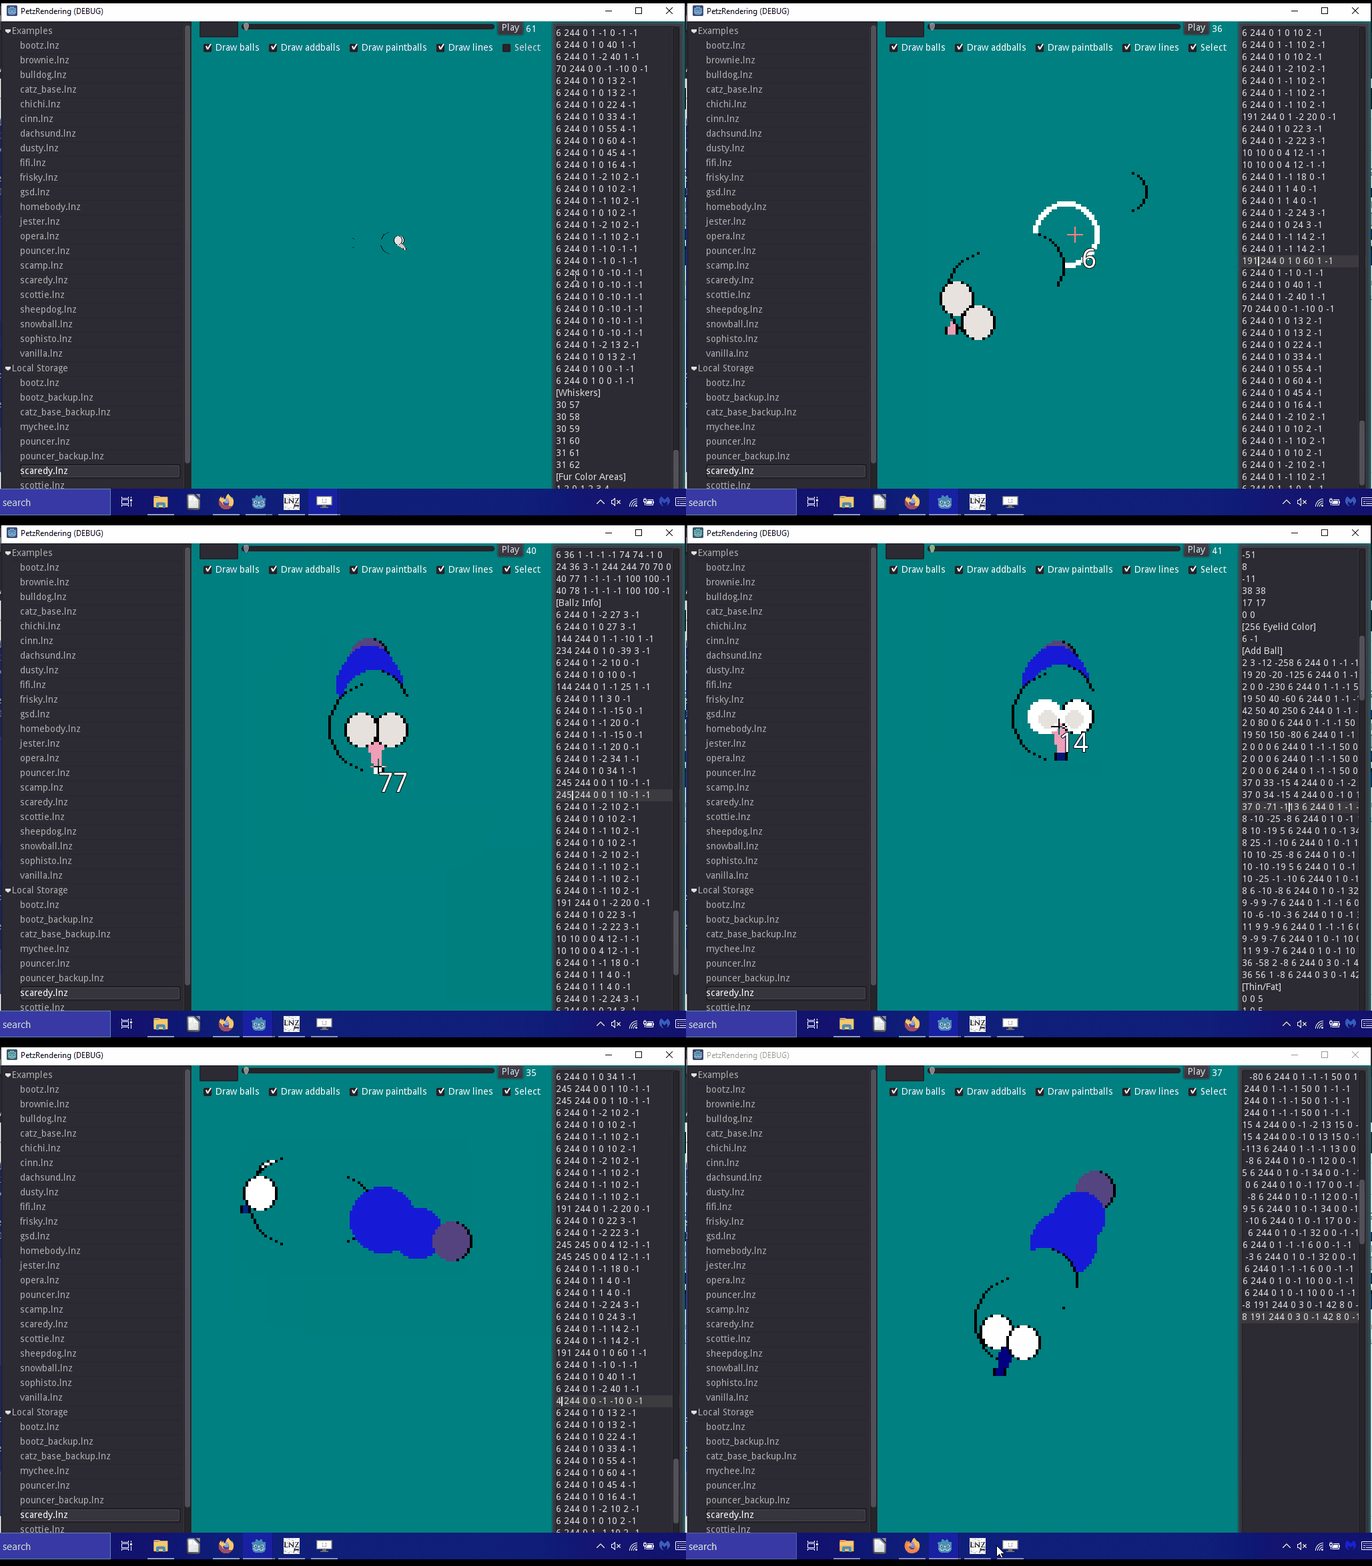
Now that we have our edited pet, we can save LnzLive, copy our LNZ back into the original pet, and check it out!
Here’s how Everclear! looks now!

— — — — —